How to Strip Paint from Metal: Expert Tips for Best Results
- Laserverse

- May 14, 2025
- 15 min read
The Science Behind Stripping Paint From Metal
Before diving into the how-to of paint stripping, let's explore the why. Understanding the science behind it makes you a more informed DIYer, empowering you to tackle any paint removal project confidently. This knowledge will help you choose the right method for your project, saving you time, money, and potential frustration.
How Paint Bonds to Metal
Paint adheres to metal through two key mechanisms: mechanical and chemical bonds. Mechanical bonding is like Velcro – microscopic surface irregularities create pockets for the paint to fill and grip. Chemical bonding is more like glue, where molecular forces bind the paint and metal.
Understanding these bonds is crucial for effective paint removal. A strong bond requires a more robust stripping method, while a weaker bond might allow for a gentler approach.
Why Metal Type Matters
Different metals possess unique surface properties. Aluminum, for example, oxidizes quickly, forming a layer that can affect paint adhesion. This means a technique effective on steel might not be ideal for aluminum. Knowing your metal is the first step to choosing the right stripping method. Stripping paint is often a precursor to repainting. For example, if you're looking to refresh your kitchen cabinets, a resource like this guide on painting kitchen cabinets can be very helpful.
How Strippers Work
Chemical strippers dissolve the chemical bonds in the paint, softening it for easy removal. Mechanical methods, conversely, use abrasion to physically strip the paint layer. Choosing between the two depends on several factors, including paint type, the underlying metal, and the desired finish. The infographic below compares chemical and mechanical stripping in terms of time, cost, and ease of use.
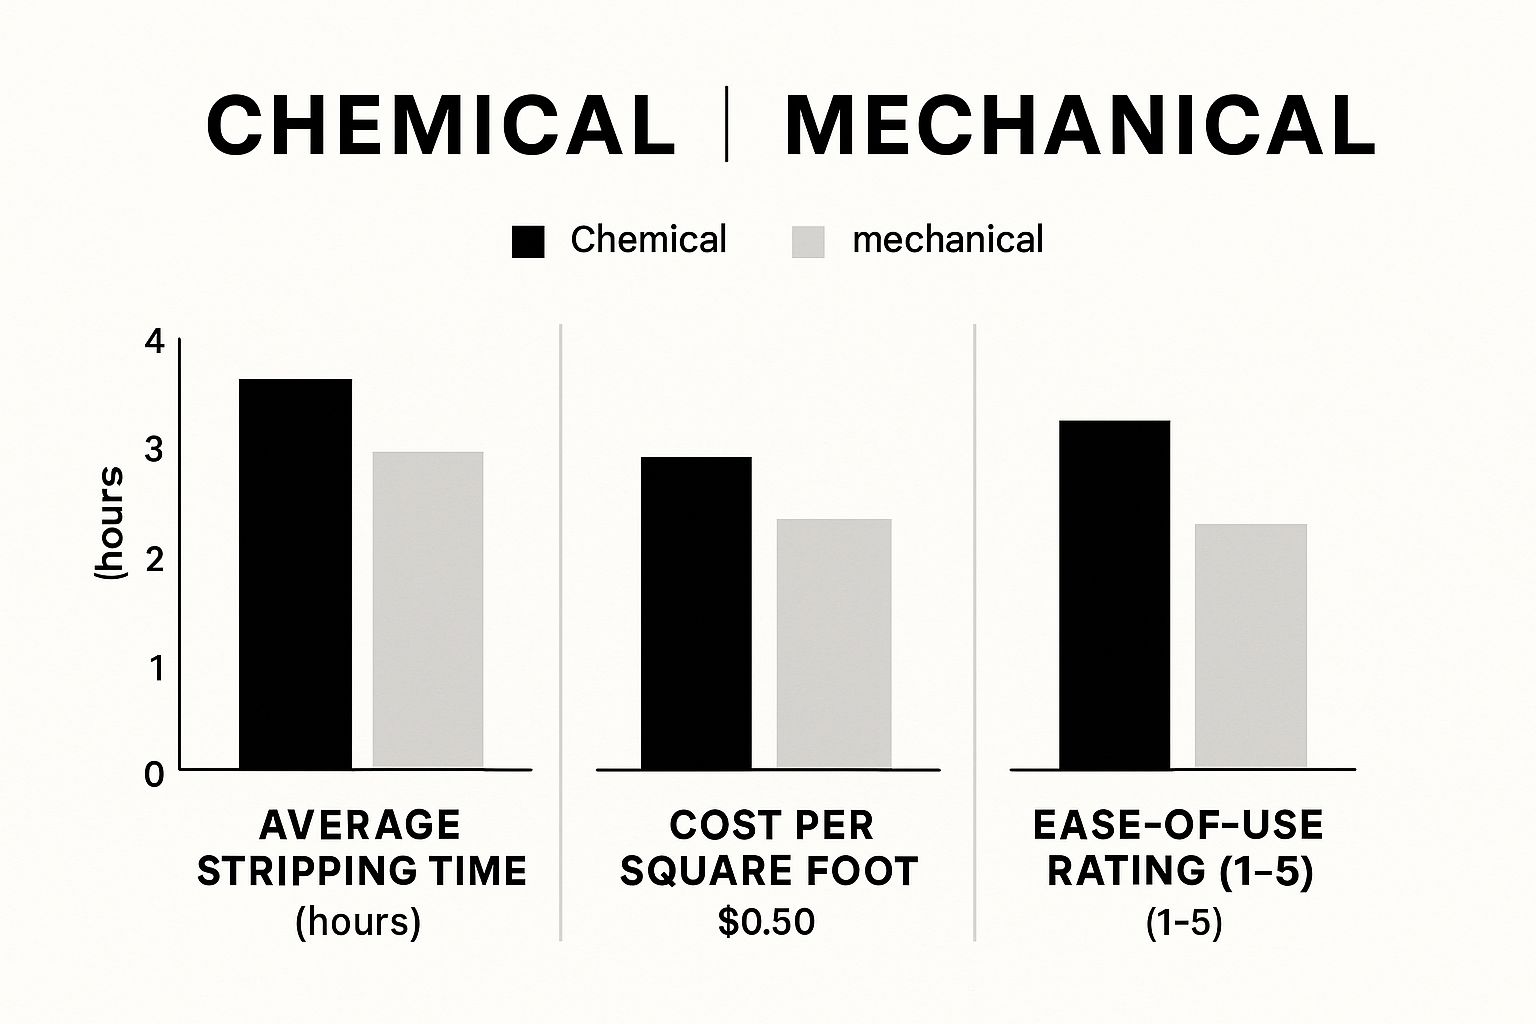
As the infographic illustrates, chemical stripping can be faster and easier, though potentially more costly. However, environmental concerns are increasingly important, particularly in California.
Environmental Impact of Chemical Strippers
The California Air Resources Board (CARB) estimates that consumer product paint strippers emit approximately 16.72 tons of volatile organic compounds (VOCs) per day in California, with methylene chloride being a significant contributor. You can find more detailed information on the environmental impact of paint strippers. This highlights the importance of choosing environmentally responsible products and disposal methods.
The following table provides a more detailed comparison of common paint stripping methods:
To help you choose the best method for your needs, we've compiled a comparison table outlining the effectiveness, safety concerns, cost, and ideal applications of different paint stripping techniques for metal surfaces.
Comparison of Paint Stripping Methods for Metal
Method | Effectiveness | Safety Concerns | Cost | Best For |
|---|---|---|---|---|
Chemical Stripping | Highly effective, quickly removes multiple layers | Moderate to high | Thick paint layers, intricate details | |
Sandblasting | Very effective, removes tough coatings | Requires specialized equipment, potential for surface damage | High | Large, flat surfaces, heavy rust removal |
Wire Brushing | Effective for removing loose paint and rust | Can scratch softer metals | Low | Small areas, surface preparation |
Scraping | Effective for removing loose or flaking paint | Can scratch surfaces if not careful | Low | Small areas, initial paint removal |
As this table shows, each method has its own set of advantages and disadvantages. Consider your specific project needs when making your choice.
Choosing the Right Approach
Understanding these principles allows you to tailor your approach for optimal results. Choosing between chemical and mechanical stripping, or even combining methods, becomes a strategic decision, not guesswork. This knowledge is especially valuable considering California’s focus on environmental sustainability. By making informed choices, you can achieve a beautifully stripped surface while minimizing your environmental impact.
Safety Essentials: Protecting Yourself and Your Space
Stripping paint from metal can be a rewarding DIY project. However, prioritizing safety is crucial. This goes beyond avoiding minor injuries; it's about protecting yourself from potentially hazardous chemicals and processes. This guide, drawing on advice from industrial safety experts and restoration professionals, will help you create a safe and effective workspace.
Essential Protective Gear: Separating Necessity From Hype
Before starting any paint stripping project, the right protective equipment is non-negotiable. This means more than just basic gloves. Eye protection is essential to prevent damage from splashes of stripper or flying debris during removal. A respirator, rated for organic vapors, is vital when using chemical strippers, preventing the inhalation of harmful fumes.
Also, wear long sleeves and pants made of a durable material like denim for skin protection. A full-body suit may not be necessary for small projects, but it's worth considering for larger jobs or when using stronger strippers. Finally, sturdy, closed-toe shoes are a must to protect your feet.
Ventilation: More Than Just An Open Window
Proper ventilation is paramount, especially when using chemical strippers. An open window helps, but it’s often insufficient, particularly in enclosed areas like garages or basements. Working outdoors is always the best option. If working inside is unavoidable, use fans to actively exhaust fumes away from your workspace.
For larger projects, or when using potent strippers, a respirator with an independent air supply may be necessary. Remember, even without a strong odor, volatile organic compounds (VOCs) can be present and pose health risks. This is particularly important in California, with its strict air quality regulations.
Workspace Setup: Minimize Risk, Maximize Efficiency
A designated workspace isn’t just about convenience; it’s a critical safety measure. Choose a well-lit area with a stable work surface. Cover the area with drop cloths or plastic sheeting to protect it from spills and debris, simplifying cleanup.
Keep tools and materials organized and accessible. This improves efficiency and reduces the risk of accidents. Have a fire extinguisher nearby, especially when using heat-based stripping methods. Designate a specific area for waste disposal.
Disposal: Protecting Yourself and the Environment
Proper disposal of paint stripping waste is crucial for both personal health and the environment. Never pour leftover stripper or paint residue down the drain, as it contaminates waterways and harms ecosystems. California has specific regulations for hazardous waste disposal, so familiarize yourself with them. More information can be found on the widespread use of methylene chloride in California. You might also be interested in our Laserverse sitemap for blog posts. As of 2006, California had at least 6 industrial facilities using over 1,200 gallons of methylene chloride-based paint strippers annually, and approximately 490 smaller businesses using smaller quantities. This widespread use, along with documented worker deaths related to methylene chloride exposure, underscores the importance of safe handling and disposal.
Collect waste in sealed, labeled containers marked “hazardous waste” and dispose of them at a designated hazardous waste collection facility. Many California counties have household hazardous waste collection programs; check with your local municipality for options. Soaking used rags in water before disposal can help prevent spontaneous combustion.
By taking these precautions, you can ensure a successful and safe paint stripping project. This minimizes environmental impact and protects your health. Remember, preparation is key to a safe and effective outcome.
Chemical Stripping: Products That Actually Work
Choosing the right chemical stripper is crucial for effectively removing paint from metal. It's not as simple as grabbing any product off the shelf. This section explores the specifics of chemical strippers, guiding you to choose the best product and use it effectively. You might also be interested in: our Laserverse product sitemap.
Types of Chemical Strippers
Several types of chemical strippers exist, each formulated for specific paints and metals:
Caustic Strippers: These powerful alkaline solutions are ideal for removing tough, epoxy-based paints. However, they can corrode some metals. Best suited for heavy-duty projects, caustic strippers require careful handling.
Solvent Strippers: Containing organic solvents that dissolve paint, these strippers work on various coatings, including oil-based and latex paints. They are commonly used but necessitate proper ventilation due to potential VOC emissions.
Biochemical Strippers: This newer class of strippers often utilizes plant-derived ingredients. Generally less harsh with lower VOC content than traditional solvent strippers, they offer an environmentally conscious option.
Methylene Chloride and California Regulations
Safety is paramount when using chemical stripping agents. Following guidelines for the safe handling of these chemicals is essential. This is especially important in California due to regulations concerning methylene chloride. Responding to health risks, California listed methylene chloride-containing paint strippers as Priority Products under the Safer Consumer Products program, effective January 1, 2019. This encouraged manufacturers to develop safer alternatives. Driven by fatalities linked to methylene chloride use, this regulatory change reflects California's commitment to consumer safety. Learn more about methylene chloride regulations in California.
Application Techniques: Maximize Effectiveness and Minimize Waste
Effective chemical stripping depends not only on the product but also the technique:
Prep the Surface: Thoroughly clean the metal to remove dirt, grease, and rust. This ensures better stripper penetration and adhesion.
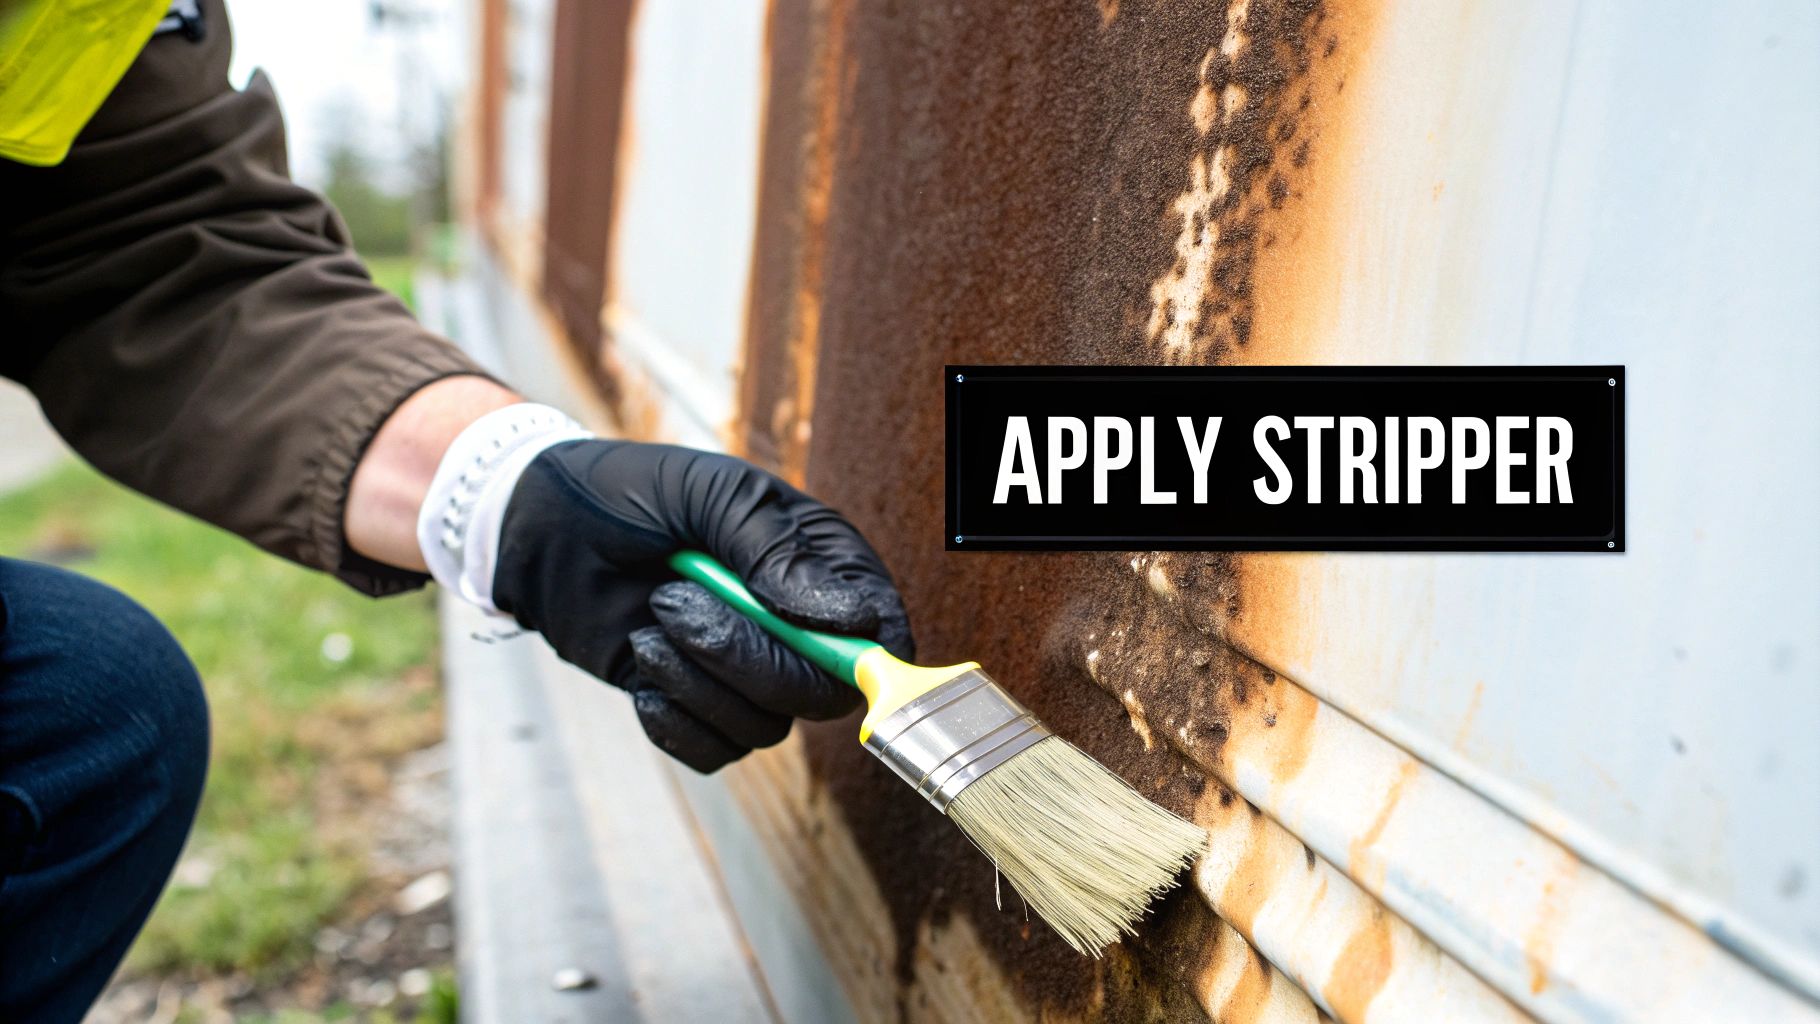
Apply Evenly: Use a brush, roller, or aerosol spray to apply a thick, even coat, avoiding drips and runs, especially on vertical surfaces.
Dwell Time: Let the stripper sit for the recommended dwell time, which varies based on the stripper, paint type, and number of coats. Testing a small area helps determine the optimal dwell time for your project.
Tackling Stubborn Multi-Layer Finishes
Multi-layer finishes can be challenging. Consider these approaches:
Multiple Applications: Apply several coats, allowing each to work before the next application.
Plastic Wrap: Covering the stripper with plastic wrap extends its effectiveness and prevents drying, especially in dry or windy conditions.
Scoring the Paint: Lightly scoring the paint surface before applying the stripper can improve penetration, particularly for thick or multiple layers.
Achieving Complete Removal
To remove the softened paint:
Scrapers: Use plastic or wooden scrapers to prevent scratching. A wire brush or steel wool can address intricate details, but use caution to avoid damaging the metal.
Neutralizing: After stripping, neutralize the surface with a neutralizing agent or suitable cleaner. This prevents any residual stripper from affecting the new finish, which is vital for long-term paint adhesion.
By selecting the right stripper, applying it correctly, and ensuring complete removal and neutralization, you'll achieve a clean metal surface ready for its new finish. A well-executed chemical strip is the foundation for a perfect, lasting result.
Mechanical Methods: Beyond Basic Scraping
While chemical strippers offer a convenient solution, mechanical methods often provide greater control and avoid the use of harsh chemicals. This is particularly attractive for environmentally conscious DIYers, especially in places like California. This section explores the intricacies of mechanical paint stripping, covering the tools and techniques needed to achieve professional results.
Choosing The Right Abrasive: A Balancing Act
Mechanical paint stripping relies on abrasives, materials designed to wear away the paint layer. Selecting the correct abrasive is vital. Too coarse, and you risk damaging the metal underneath. Too fine, and the process becomes unnecessarily time-consuming. It's similar to sanding wood—you wouldn’t use coarse grit for a fine finish.
Common abrasives for metal include:
Sandpaper: Sandpaper is versatile and readily available in a wide range of grits. Begin with a coarser grit for the initial paint removal, then gradually switch to finer grits for smoothing.
Wire Brushes: Ideal for removing loose paint and rust, wire brushes come in various forms, including hand-held brushes and drill attachments. Be mindful, though, as they can scratch softer metals.
Steel Wool: Providing a finer abrasive action than wire brushes, steel wool is suitable for delicate areas. Exercise caution on easily scratched metals.
Abrasive Blast Media: Designed for specialized equipment like sandblasters, media like glass beads, walnut shells, and aluminum oxide offer aggressive paint removal. While highly effective, blasting requires specialized equipment and careful attention to safety precautions.
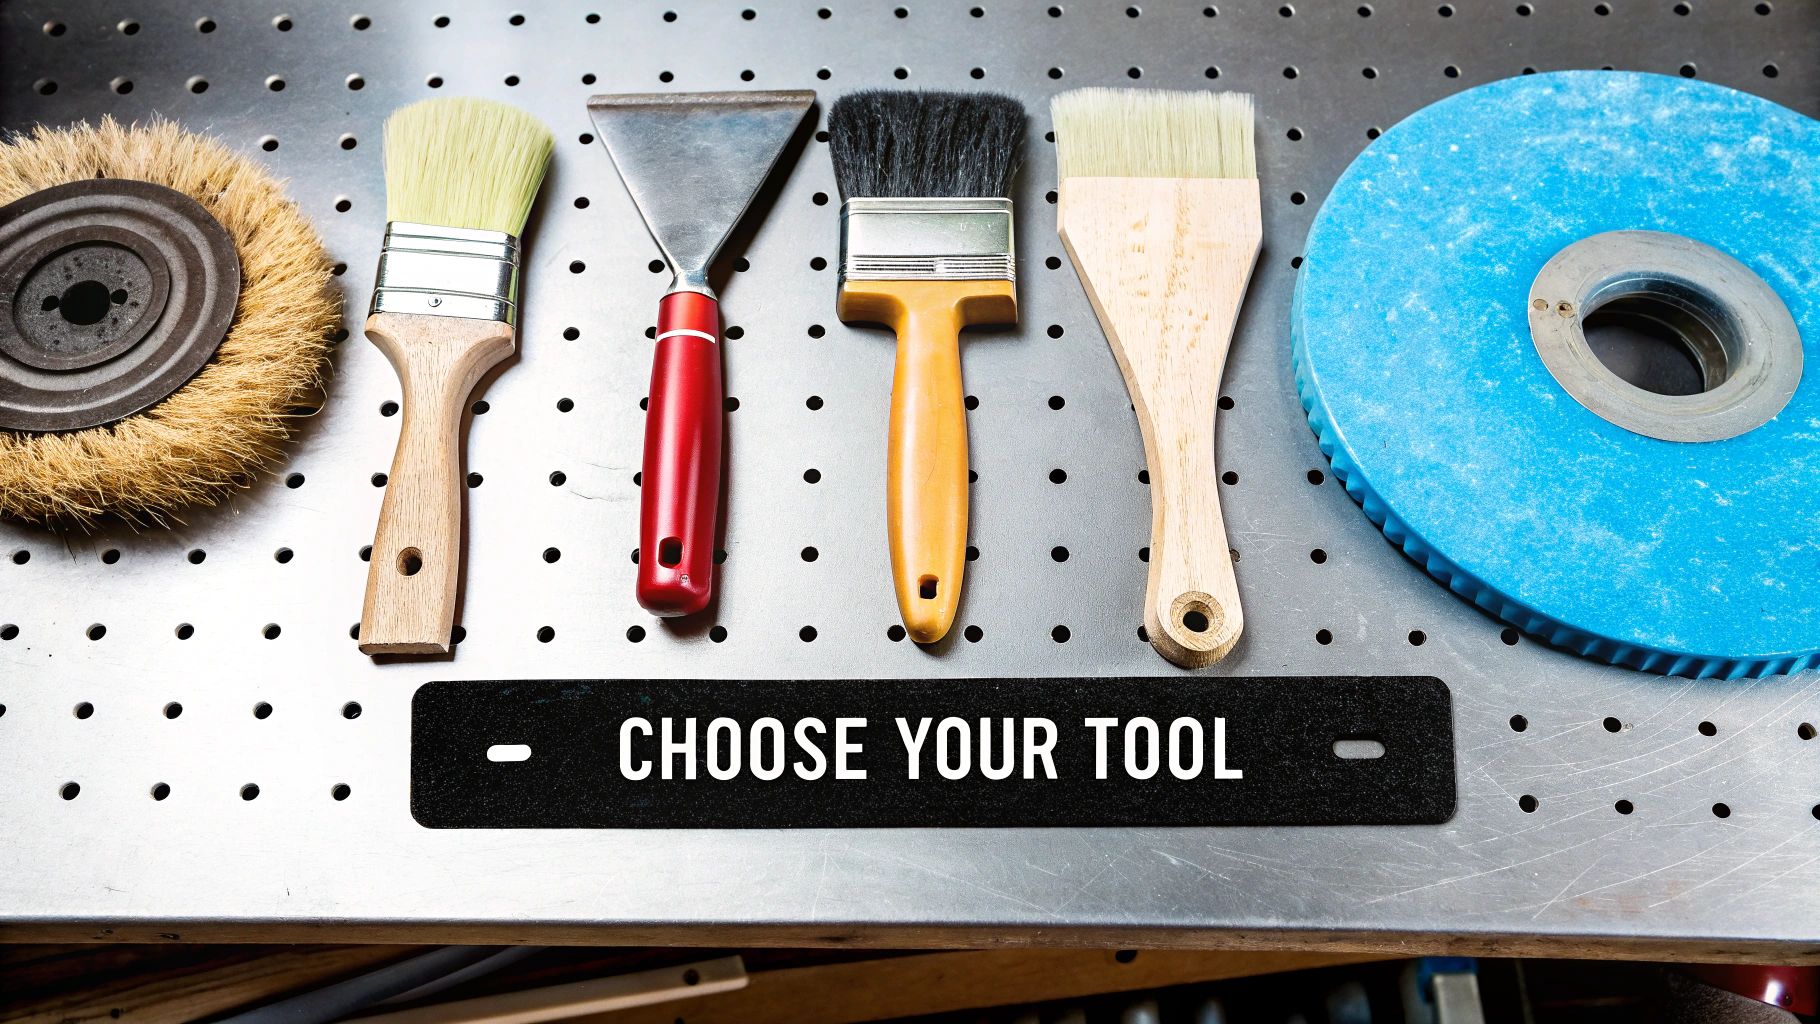
Tools of The Trade: From Hand Tools To Power Equipment
Choosing the right tool is crucial for efficient and effective mechanical paint stripping. Hand tools like scrapers, wire brushes, and sanding blocks are well-suited for small projects or intricate details. For larger projects, power tools significantly expedite the process.
Power tools for paint stripping include:
Electric Sanders: Orbital sanders work well on flat surfaces, while detail sanders are ideal for tight spaces.
Angle Grinders: Fitted with wire wheels or sanding discs, angle grinders enable rapid paint removal but require careful handling due to their power.
Sandblasters: These powerful tools propel abrasive media at high speed, quickly stripping paint, rust, and other coatings. They're typically reserved for larger, industrial-scale projects.
Mastering The Technique: Progressive Grit and Dust Control
The secret to achieving a smooth, damage-free finish lies in progressive grit stripping. Start with a coarser abrasive to remove the majority of the paint. Then, progressively transition to finer grits for smoothing. This method minimizes scratches and prepares the metal for refinishing.
Dust control is equally important. Mechanical stripping generates a considerable amount of dust, which can be hazardous to your health and your equipment. Always wear a dust mask or respirator. Using a vacuum attachment with your power tools will help capture dust at the source.
Choosing The Right Method: Project and Material Considerations
The most appropriate mechanical method depends on several factors:
Project Size: Hand tools are generally sufficient for smaller items, whereas power tools are necessary for larger projects.
Metal Type: Soft metals require more delicate abrasives and techniques to avoid damage.
Paint Type: Thick or multiple layers of paint might necessitate more aggressive removal methods.
Desired Finish: Achieving a smooth finish calls for progressive grit stripping and meticulous attention to detail.
By understanding the nuances of abrasives, tools, and techniques, you can transform mechanical paint stripping from a laborious task into a precise, controlled process. This ensures efficient paint removal while preserving the integrity of the underlying metal. For more details on media blasting options, consult the table below.
Media Blasting Options For Metal Paint Removal
To help you choose the best media for your blasting project, the following table provides a detailed overview of different options:
Blasting Media | Abrasiveness | Metal Compatibility | Dust Generation | Environmental Impact | Cost Range |
|---|---|---|---|---|---|
Glass Beads | Low | Most metals | Moderate | Low | Moderate |
Walnut Shells | Medium | Soft metals, aluminum | High | Low (biodegradable) | Moderate to High |
Aluminum Oxide | High | Steel, cast iron | Moderate | Moderate | High |
Soda Blasting (Sodium Bicarbonate) | Low | Delicate metals, thin sheet metal | High | Low (food-grade) | Moderate to High |
This table summarizes key characteristics of various blasting media. If you're unsure about the best option for your specific metal, consulting with a professional is recommended. Choosing the right blasting media is critical for preventing damage to the metal item.
Heat-Based Techniques: Precision Paint Removal
Heat-based paint stripping presents a compelling alternative to harsh chemical strippers and laborious mechanical methods. Understanding how heat impacts paint allows for precise removal without damaging the underlying material. This is especially valuable for intricate items or antique metals.
The Science of Heat Stripping: Controlled Softening
Heat softens the paint's chemical bonds, making it pliable and easy to remove. This softening happens within a specific temperature range. Exceeding this range can scorch the paint or warp the metal. Just as butter softens at room temperature but melts at a higher one, paint reacts predictably to temperature changes.
Choosing the Right Heat Tool: Guns vs. Infrared
Two primary tools are used for heat stripping: heat guns and infrared systems. Heat guns offer focused heat, ideal for smaller areas and intricate details. They excel at removing paint from ornate metalwork or tight corners, for example. Infrared systems, conversely, distribute heat evenly over larger surfaces, making them suitable for stripping paint from flat panels or furniture.
Temperature Control: The Key to Success
Controlling the temperature is paramount. Different paint formulations have different optimal heat ranges. Too much heat scorches the paint, hindering removal and potentially damaging the underlying metal. Too little, and the paint won't soften enough. Practice on an inconspicuous area to find the ideal temperature for your project.
Managing the Softened Paint: Efficient Removal Techniques
Once softened, carefully remove the paint using a paint scraper. A putty knife or a specialized paint shaving tool are also effective. Avoid metal scrapers on delicate surfaces to prevent scratching. A brass bristle brush can remove softened paint from crevices on intricate pieces without causing damage. You may be interested in our Laserverse blog categories sitemap.
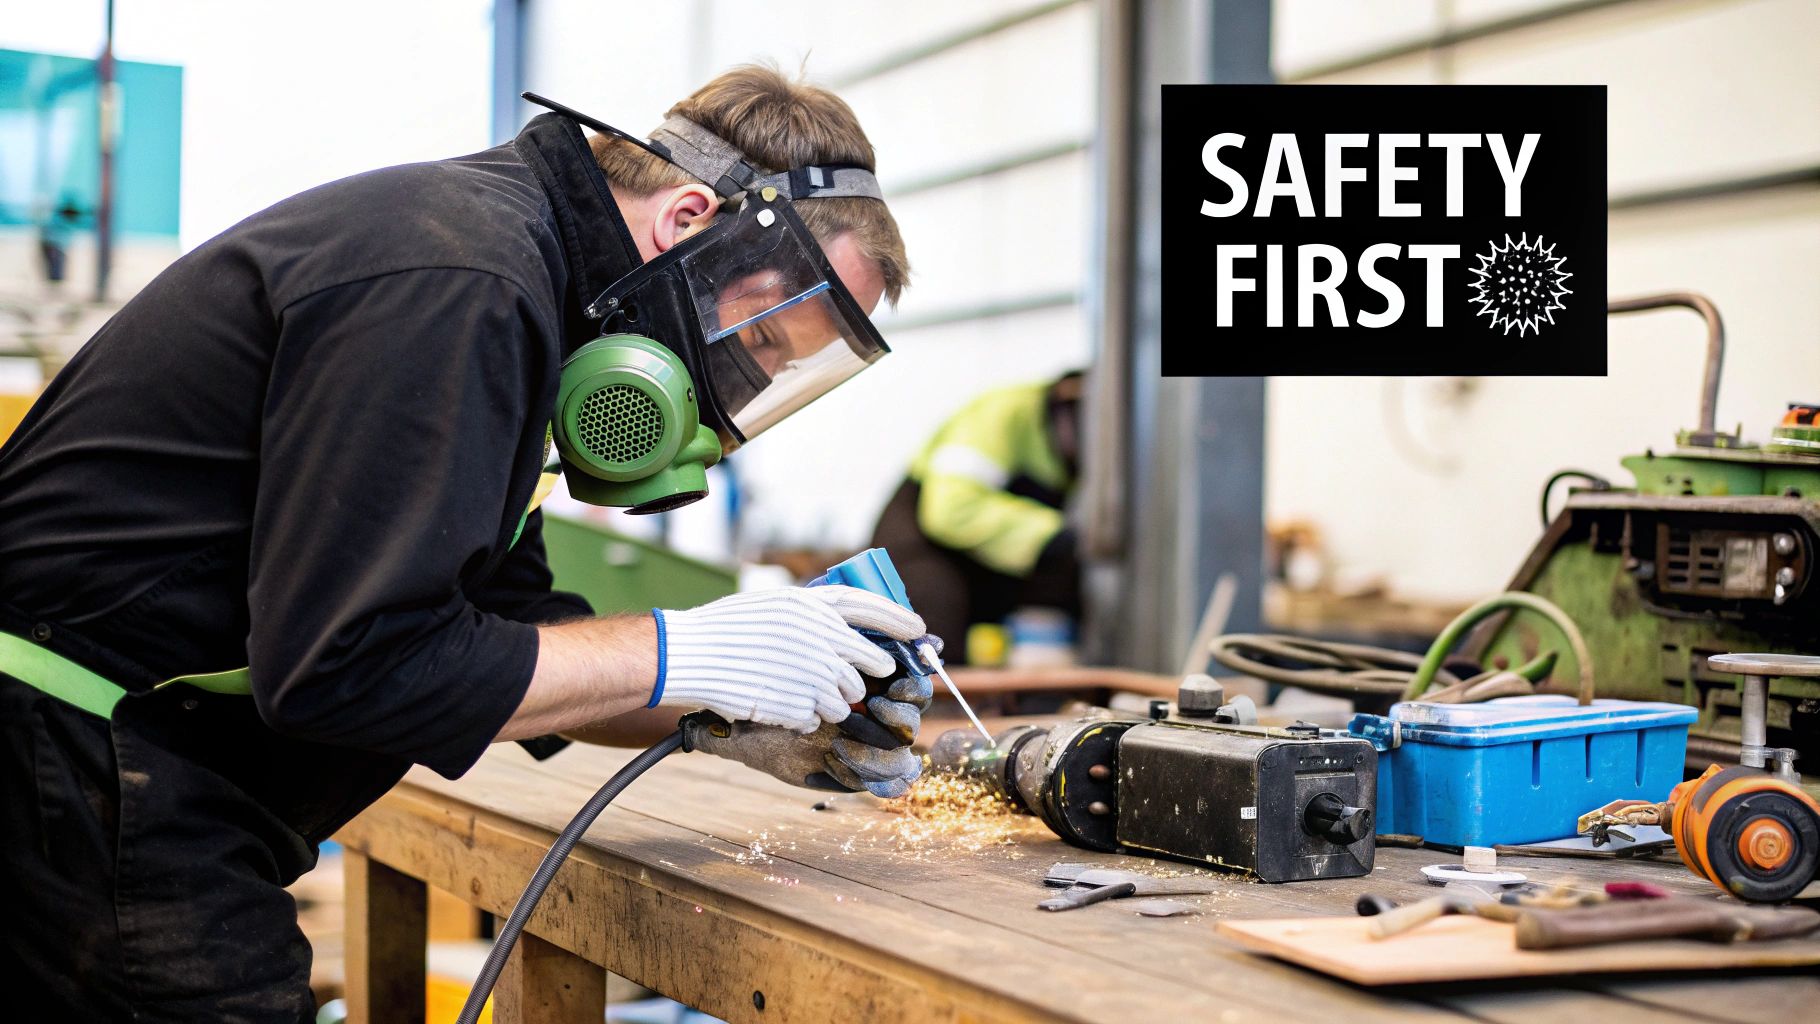
Safety First: Thermal Precautions
Working with heat necessitates safety precautions. Always wear heat-resistant gloves and eye protection. Ensure adequate ventilation, as some paints release fumes when heated. Keep a fire extinguisher nearby, particularly when working with flammable materials.
Special Considerations for Antique Metals
Antique metals require extra care. Their age and potential fragility make them susceptible to heat damage. Begin with the lowest heat setting and gradually increase as needed. Avoid prolonged heat exposure, which can warp the metal or damage delicate finishes. Consulting a professional restorer is recommended for valuable or fragile antiques.
Achieving Professional Results: Tips and Techniques
Work in sections: Break larger projects into manageable sections to maintain consistent heat and prevent the paint from re-hardening.
Maintain a consistent distance: Keep the heat source at a consistent distance from the metal for even heating.
Use a pulling motion: Scrape with a pulling motion rather than pushing to minimize gouging.
Test in an inconspicuous area: Before starting the main project, test your technique and temperature on a hidden area.
Mastering these heat-based techniques allows precise paint removal without harsh chemicals or excessive manual labor. This valuable addition to your DIY toolkit empowers you to tackle various paint stripping projects confidently and safely.
Metal-Specific Mastery: Customized Approaches
Stripping paint from metal isn't a one-size-fits-all endeavor. Different metals react differently to various stripping methods. Just as you wouldn't use the same cleaner on delicate lace as you would on heavy-duty work boots, choosing the right paint stripping method is crucial. Informed by conversations with metal specialists, this section dives into the specifics of stripping paint from various metals, empowering you to make informed choices for your California projects.
Aluminum: A Delicate Approach
Aluminum, a common metal found in everything from car parts to window frames, requires a gentle touch. Its reactive nature makes it prone to oxidation, forming a layer that can complicate paint removal. Harsh chemical strippers can etch the aluminum surface. Instead, opt for gentler biochemical strippers or mechanical methods like sanding with fine-grit sandpaper. This careful approach is much like polishing a fine piece of jewelry – you wouldn't use a coarse abrasive.
Cast Iron: Heavy-Duty Solutions
Cast iron, often found in antique furniture and cookware, can withstand more aggressive paint stripping methods. Chemical strippers, including caustic options, effectively remove stubborn paint layers from cast iron. Mechanical methods like sandblasting are also effective, though they require specialized equipment. This is comparable to using a power washer for tough grime – sometimes, you need that extra force.
Copper and Brass: Preserving the Patina
Copper and brass frequently appear in decorative items and often have a patina, a valued surface finish. Preserving this patina during the stripping process is essential. Avoid harsh chemicals that can strip the patina along with the paint. Gentle mechanical methods, like using a brass bristle brush or fine steel wool, allow for controlled paint removal without damaging the delicate patina. This is akin to dusting an antique – a delicate touch preserves the object's value.
Steel: Versatility and Durability
Steel, a mainstay in construction and industrial applications, can tolerate most stripping methods. Chemical strippers, including solvent-based options, are often effective on steel. Mechanical methods, such as sanding, grinding, and even sandblasting, also work well. However, even with steel's durability, excessive force or harsh chemicals can cause damage, so choose wisely based on the specific project.
Identifying and Addressing Common Challenges
Each metal presents unique challenges during the paint stripping process:
Corrosion: Aluminum and steel, particularly in coastal California climates, are susceptible to corrosion. Neutralizing the metal after stripping is vital to prevent further corrosion.
Oxidation: Aluminum oxidizes easily, impacting paint adhesion. Removing the oxide layer before stripping can significantly improve results.
Surface Damage: Softer metals like copper and brass are easily scratched. Using fine abrasives and gentle techniques helps avoid surface damage.
Preventing Damage: Key Considerations
To prevent damage during paint stripping:
Always test in an inconspicuous area: This allows you to evaluate the stripper or method without risking damage to a visible area of the metal.
Use the least aggressive method first: Start with the gentlest option and progressively increase aggressiveness only as needed.
Control the process: Whether using chemical or mechanical methods, avoid excessive dwell times, high temperatures, or excessive pressure to prevent damage to the metal.
By understanding the specific needs of each metal, you can choose the right paint stripping approach, ensuring efficient paint removal while preserving the metal's integrity. This knowledge will empower you to achieve consistent, professional-looking results on any paint stripping project, regardless of the type of metal.
After the Strip: Preparing for Perfect Finishes
Successfully stripping paint is a significant accomplishment, but the journey doesn't end there. Think of it like preparing a canvas before painting a masterpiece. The way you prepare the metal now directly impacts the success and longevity of the new finish. This section guides you through professional techniques for neutralizing, cleaning, and priming your stripped metal, ensuring a beautiful, lasting result.
Neutralizing and Cleaning: The Foundation of a Flawless Finish
After stripping, residual chemicals can linger on the metal and compromise your future finish. Just as you wouldn't want dish soap in your cake batter, any remaining stripper can interfere with primer adhesion, causing the new paint to peel or bubble.
Neutralizing: Use a neutralizing agent designed for the type of stripper used. For example, a caustic stripper requires an acidic neutralizer to restore the metal to a neutral pH. This precise approach ensures the best possible conditions for the new finish.
Cleaning: After neutralizing, clean the metal thoroughly with a suitable cleaner like mild detergent and water. This removes any remaining residue, dust, or debris, creating a pristine surface for priming.
Addressing Imperfections: A Smooth Path to a Perfect Finish
Stripping often reveals imperfections like scratches, dents, or pitting. Addressing these before applying the new finish is crucial for a smooth, flawless result.
Filling: Use a metal filler to fill any dents or pits. Apply carefully and allow it to dry completely before sanding smooth. This creates a level surface, similar to preparing a wall before painting.
Sanding: Smooth any remaining rough spots or scratches with fine-grit sandpaper. This creates a uniform surface for the primer and paint to adhere to.
Priming: The Bridge to a Beautiful Finish
Primer acts as a crucial link between the bare metal and the new finish. It improves paint adhesion, prevents rust, and ensures a uniform color. Choosing the right primer is essential, much like selecting the right foundation for makeup.
Metal-Specific Primers: Different metals require different primers. For example, aluminum needs a specialized primer to prevent oxidation and promote adhesion. This targeted approach addresses each metal's unique properties.
Finish-Specific Primers: Your chosen finish also influences primer choice. A high-gloss primer will enhance the final sheen if you're using high-gloss paint. This pairing ensures a cohesive, professional result.
Preventing Flash Rust and Oxidation: Protecting Your Investment
The time between stripping and refinishing is critical. Bare metal is vulnerable to flash rust, a rapid form of rust that can appear within hours, especially in humid environments. Preventing this is essential for a lasting finish.
Quick Turnaround: Ideally, prime the metal immediately after cleaning to minimize exposure to air and moisture.
Protective Coatings: If immediate priming isn't feasible, apply a temporary protective coating like a rust inhibitor. This shields the metal from moisture and oxygen until you're ready to prime.
By meticulously following these steps, you prepare your stripped metal for a beautiful and enduring finish. Your stripping efforts now pave the way for a lasting result.
Ready to enhance your metal projects? Laserverse offers advanced laser cleaning technology for precise paint, rust, and contaminant removal from various metals. Visit Laserverse to explore innovative solutions.